Here we go again. It’s been a while since I’ve posted a writeup (or done any CTFs for that matter) due to adulting responsibilities. I didn’t get to participate too much in last year’s OverTheWire Advent Bonanza which turned out to be quality. I have a bit more time this year so I figured I should try some of the challenges. OverTheWire’s Advent Bonanza 2019 Challenge Zero was released prior to Dec 1. I’m not sure what day they released it but I accessed it on Nov 30. Let’s jump in.
All that is given for this challenge is a link:
Accessing this site in Google Chrome gives the following:
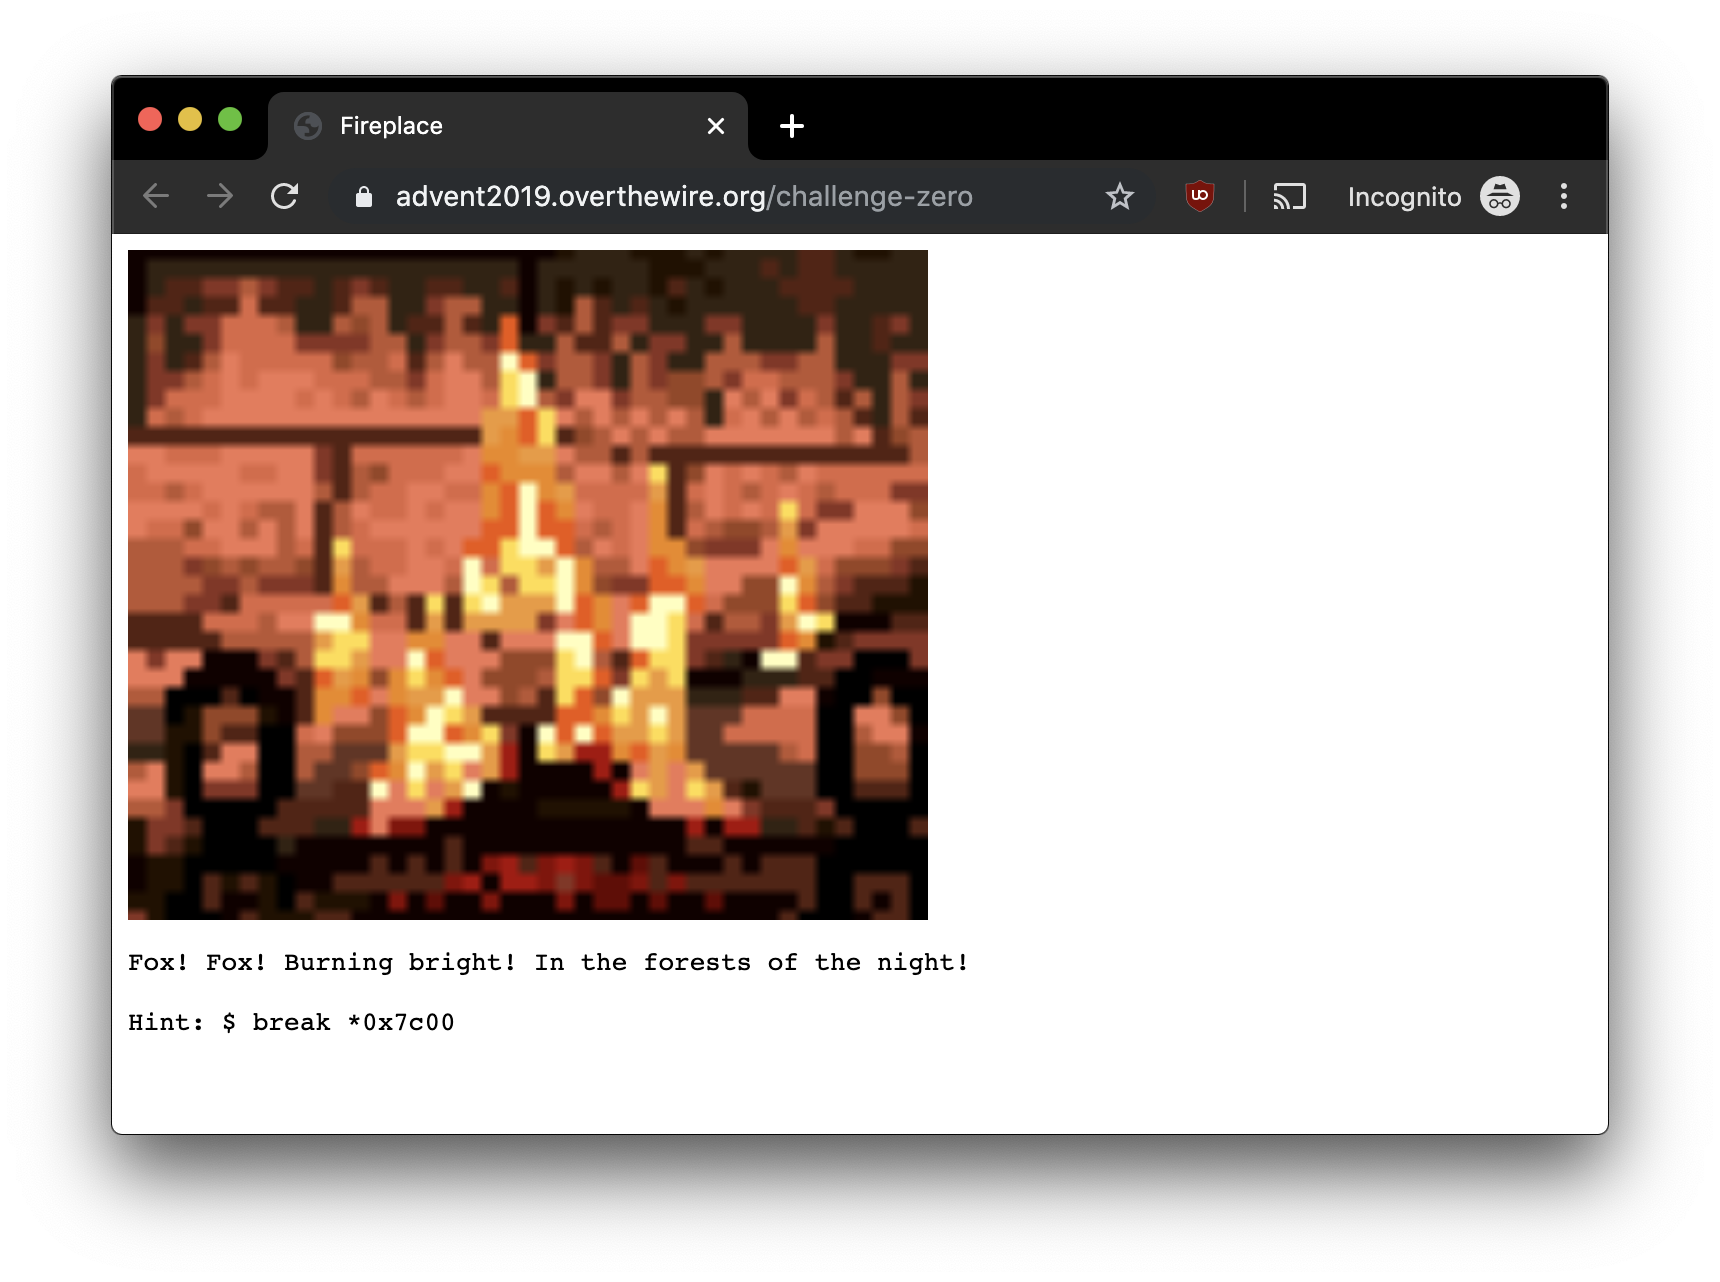
Not much to go off of here. Let’s take a look at the source via Inspect:
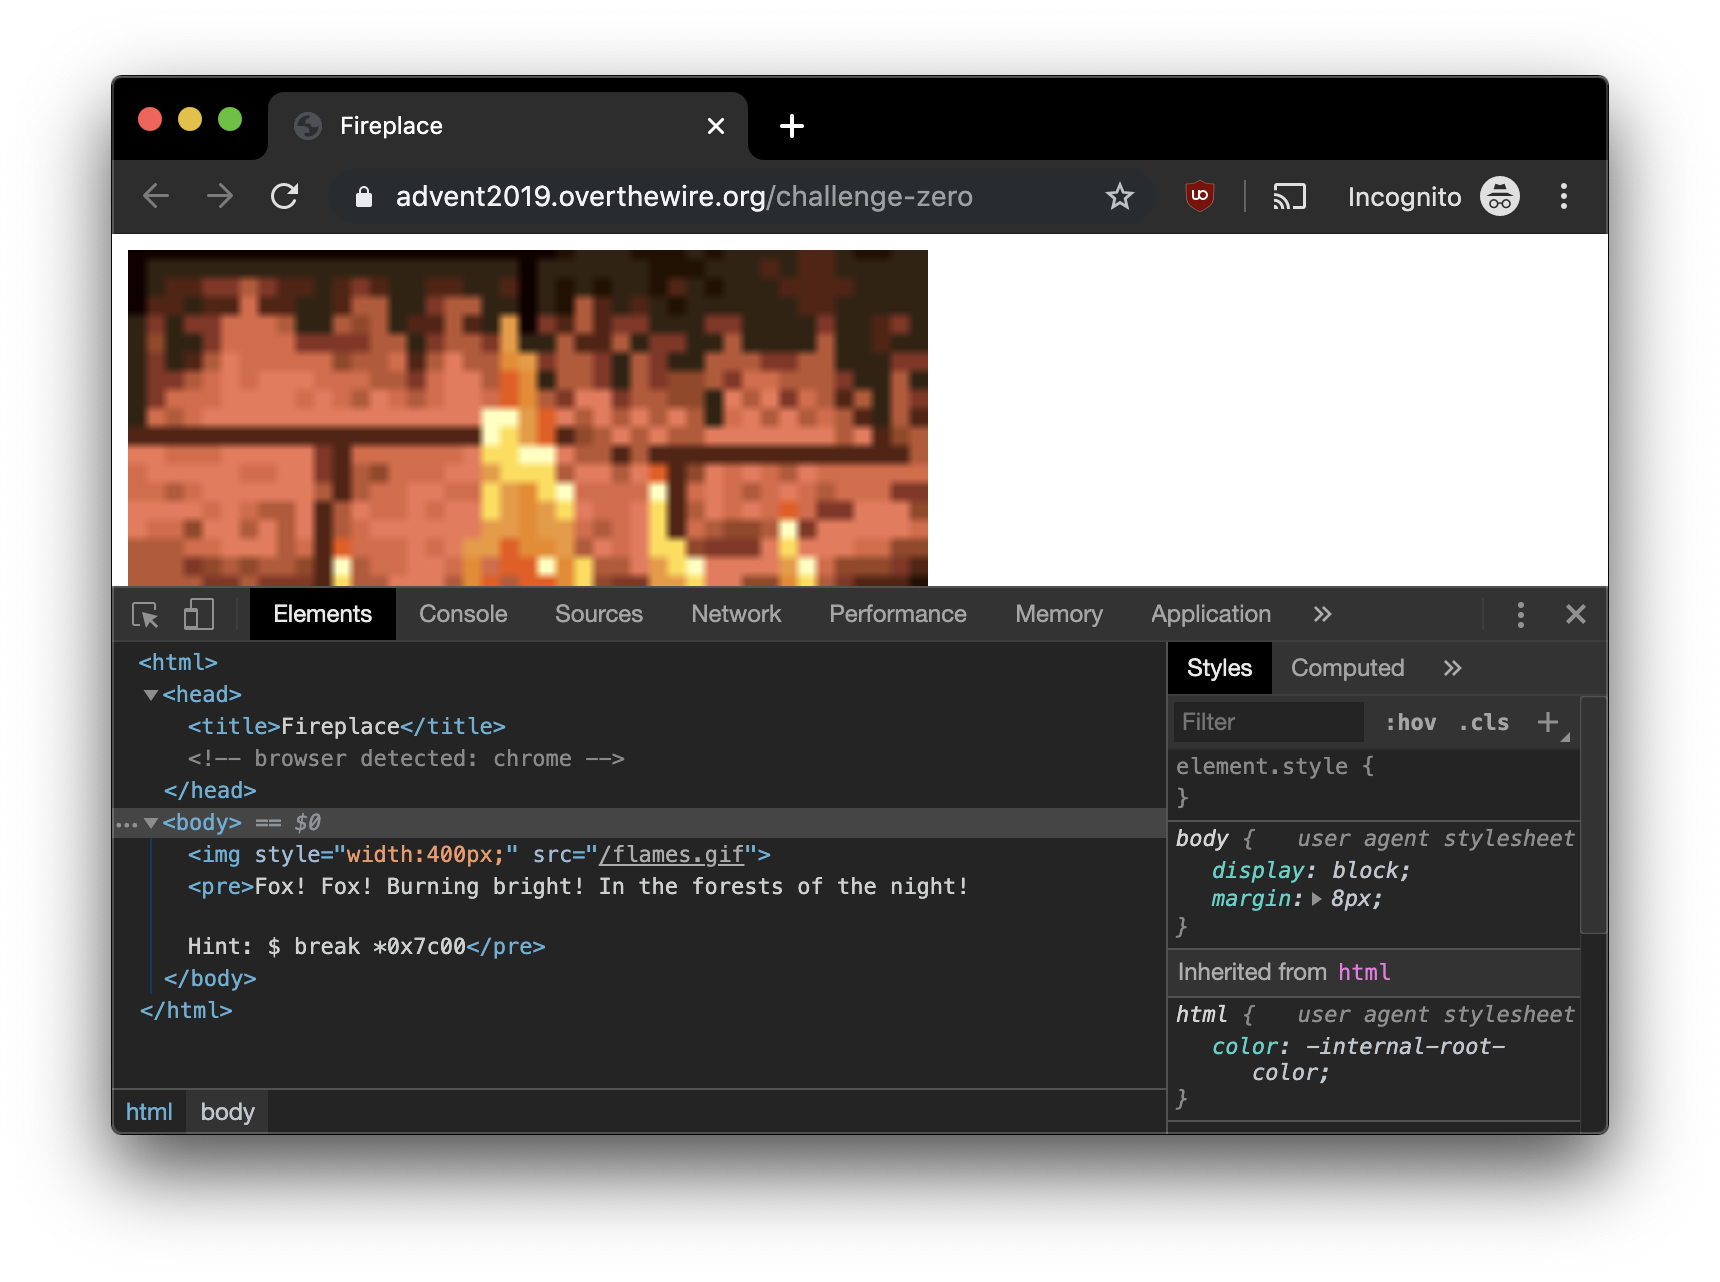
Nothing all too exciting except for perhaps the “Hint” and the little bit that looks like:
1 | <!-- browser detected: chrome --> |
I might need that “Hint” bit later, but for now, the fact that it has a little comment saying what browser was detected, the server probably behaves differently based on my User-Agent string. Also, the text says Fox! Fox! Burning bright! which sounds like it is alluding to Firefox. So let’s try accessing the page via Firefox:
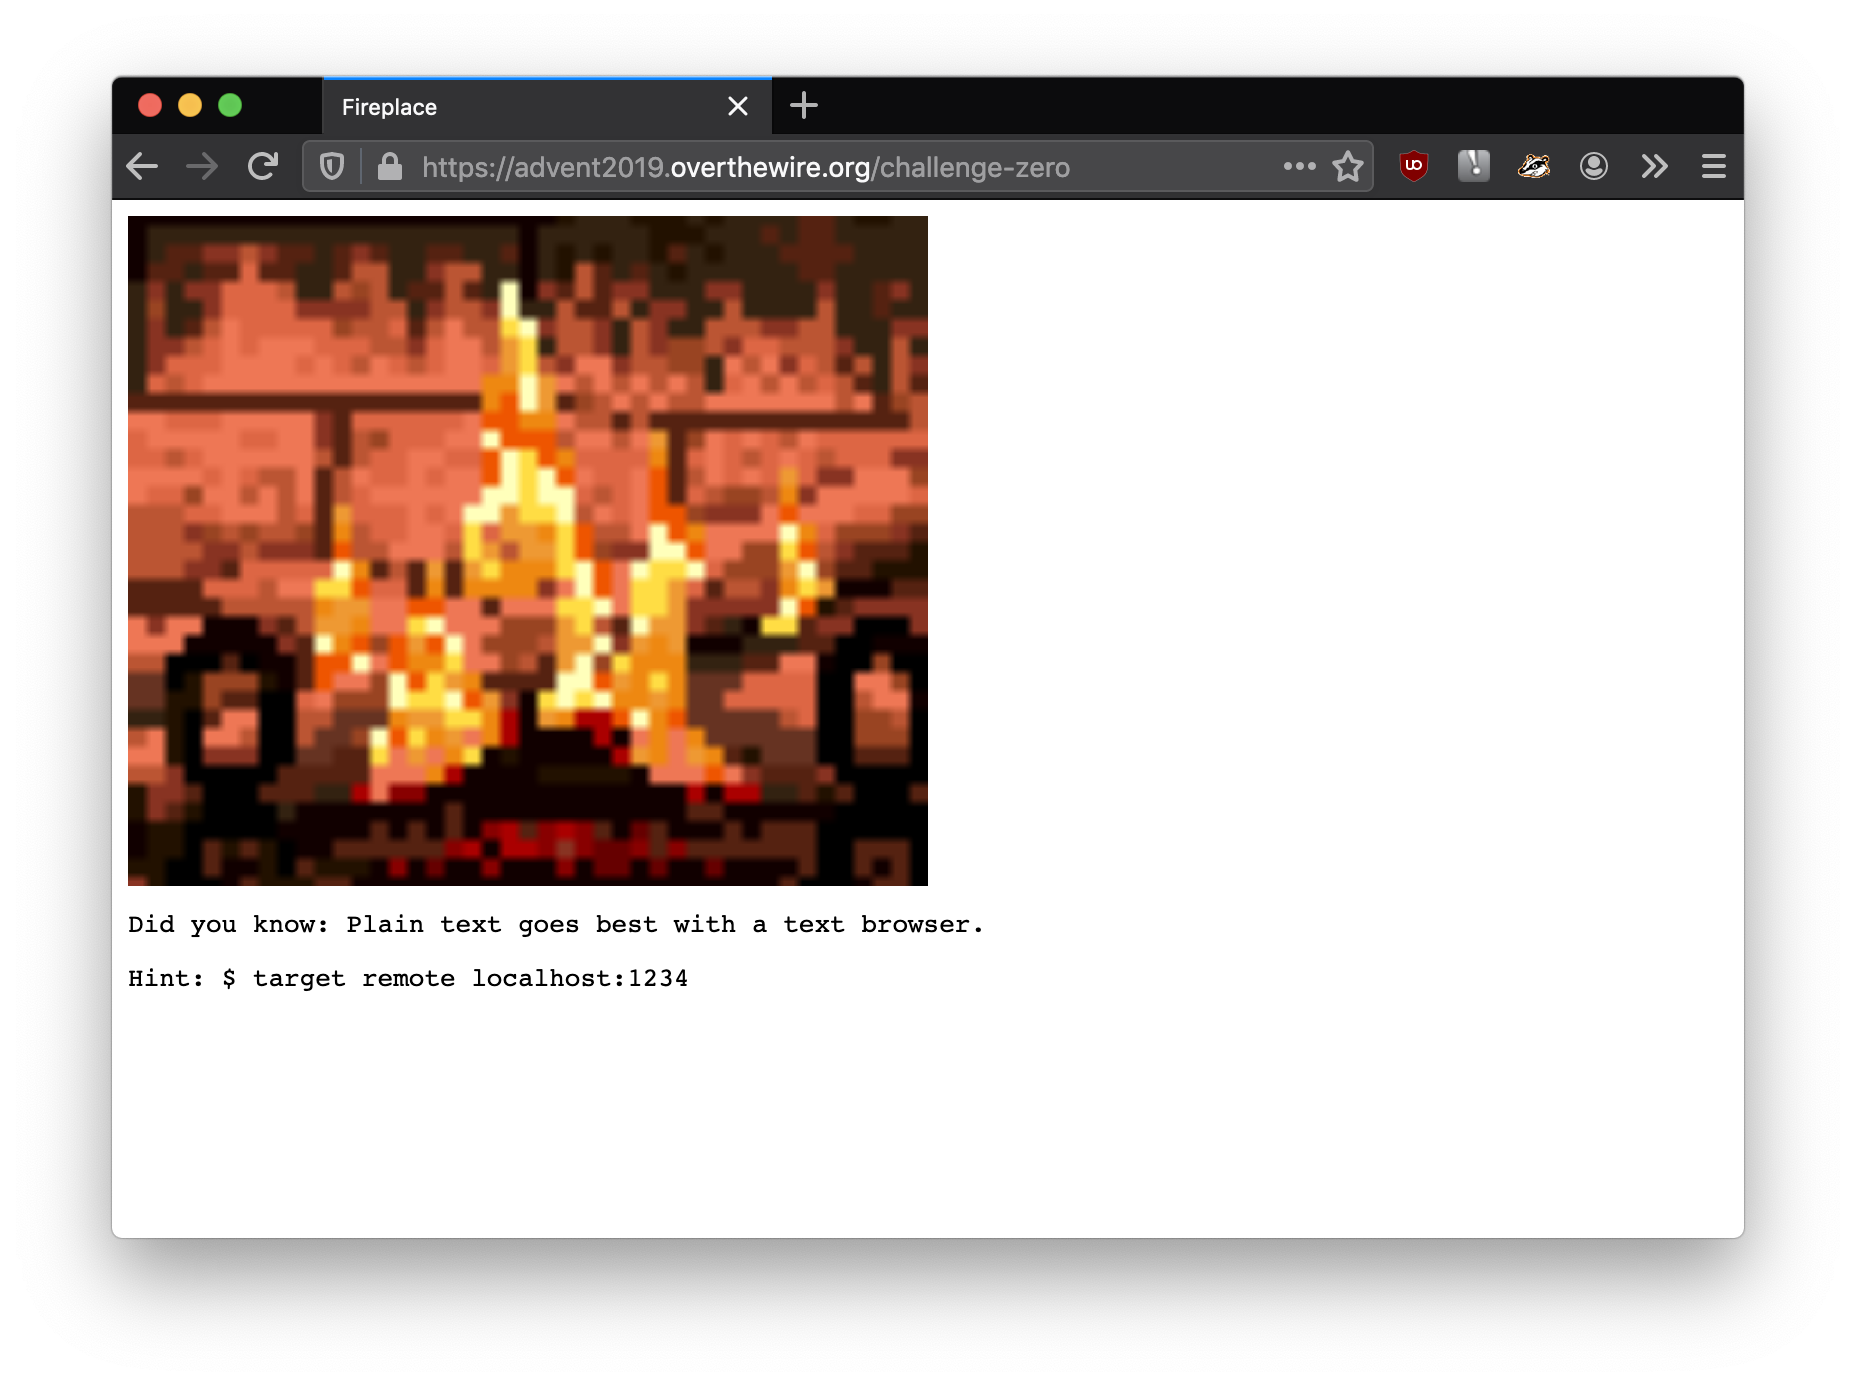
Look at that! Different output when I use Firefox. For completeness, I also inspected via Firefox:
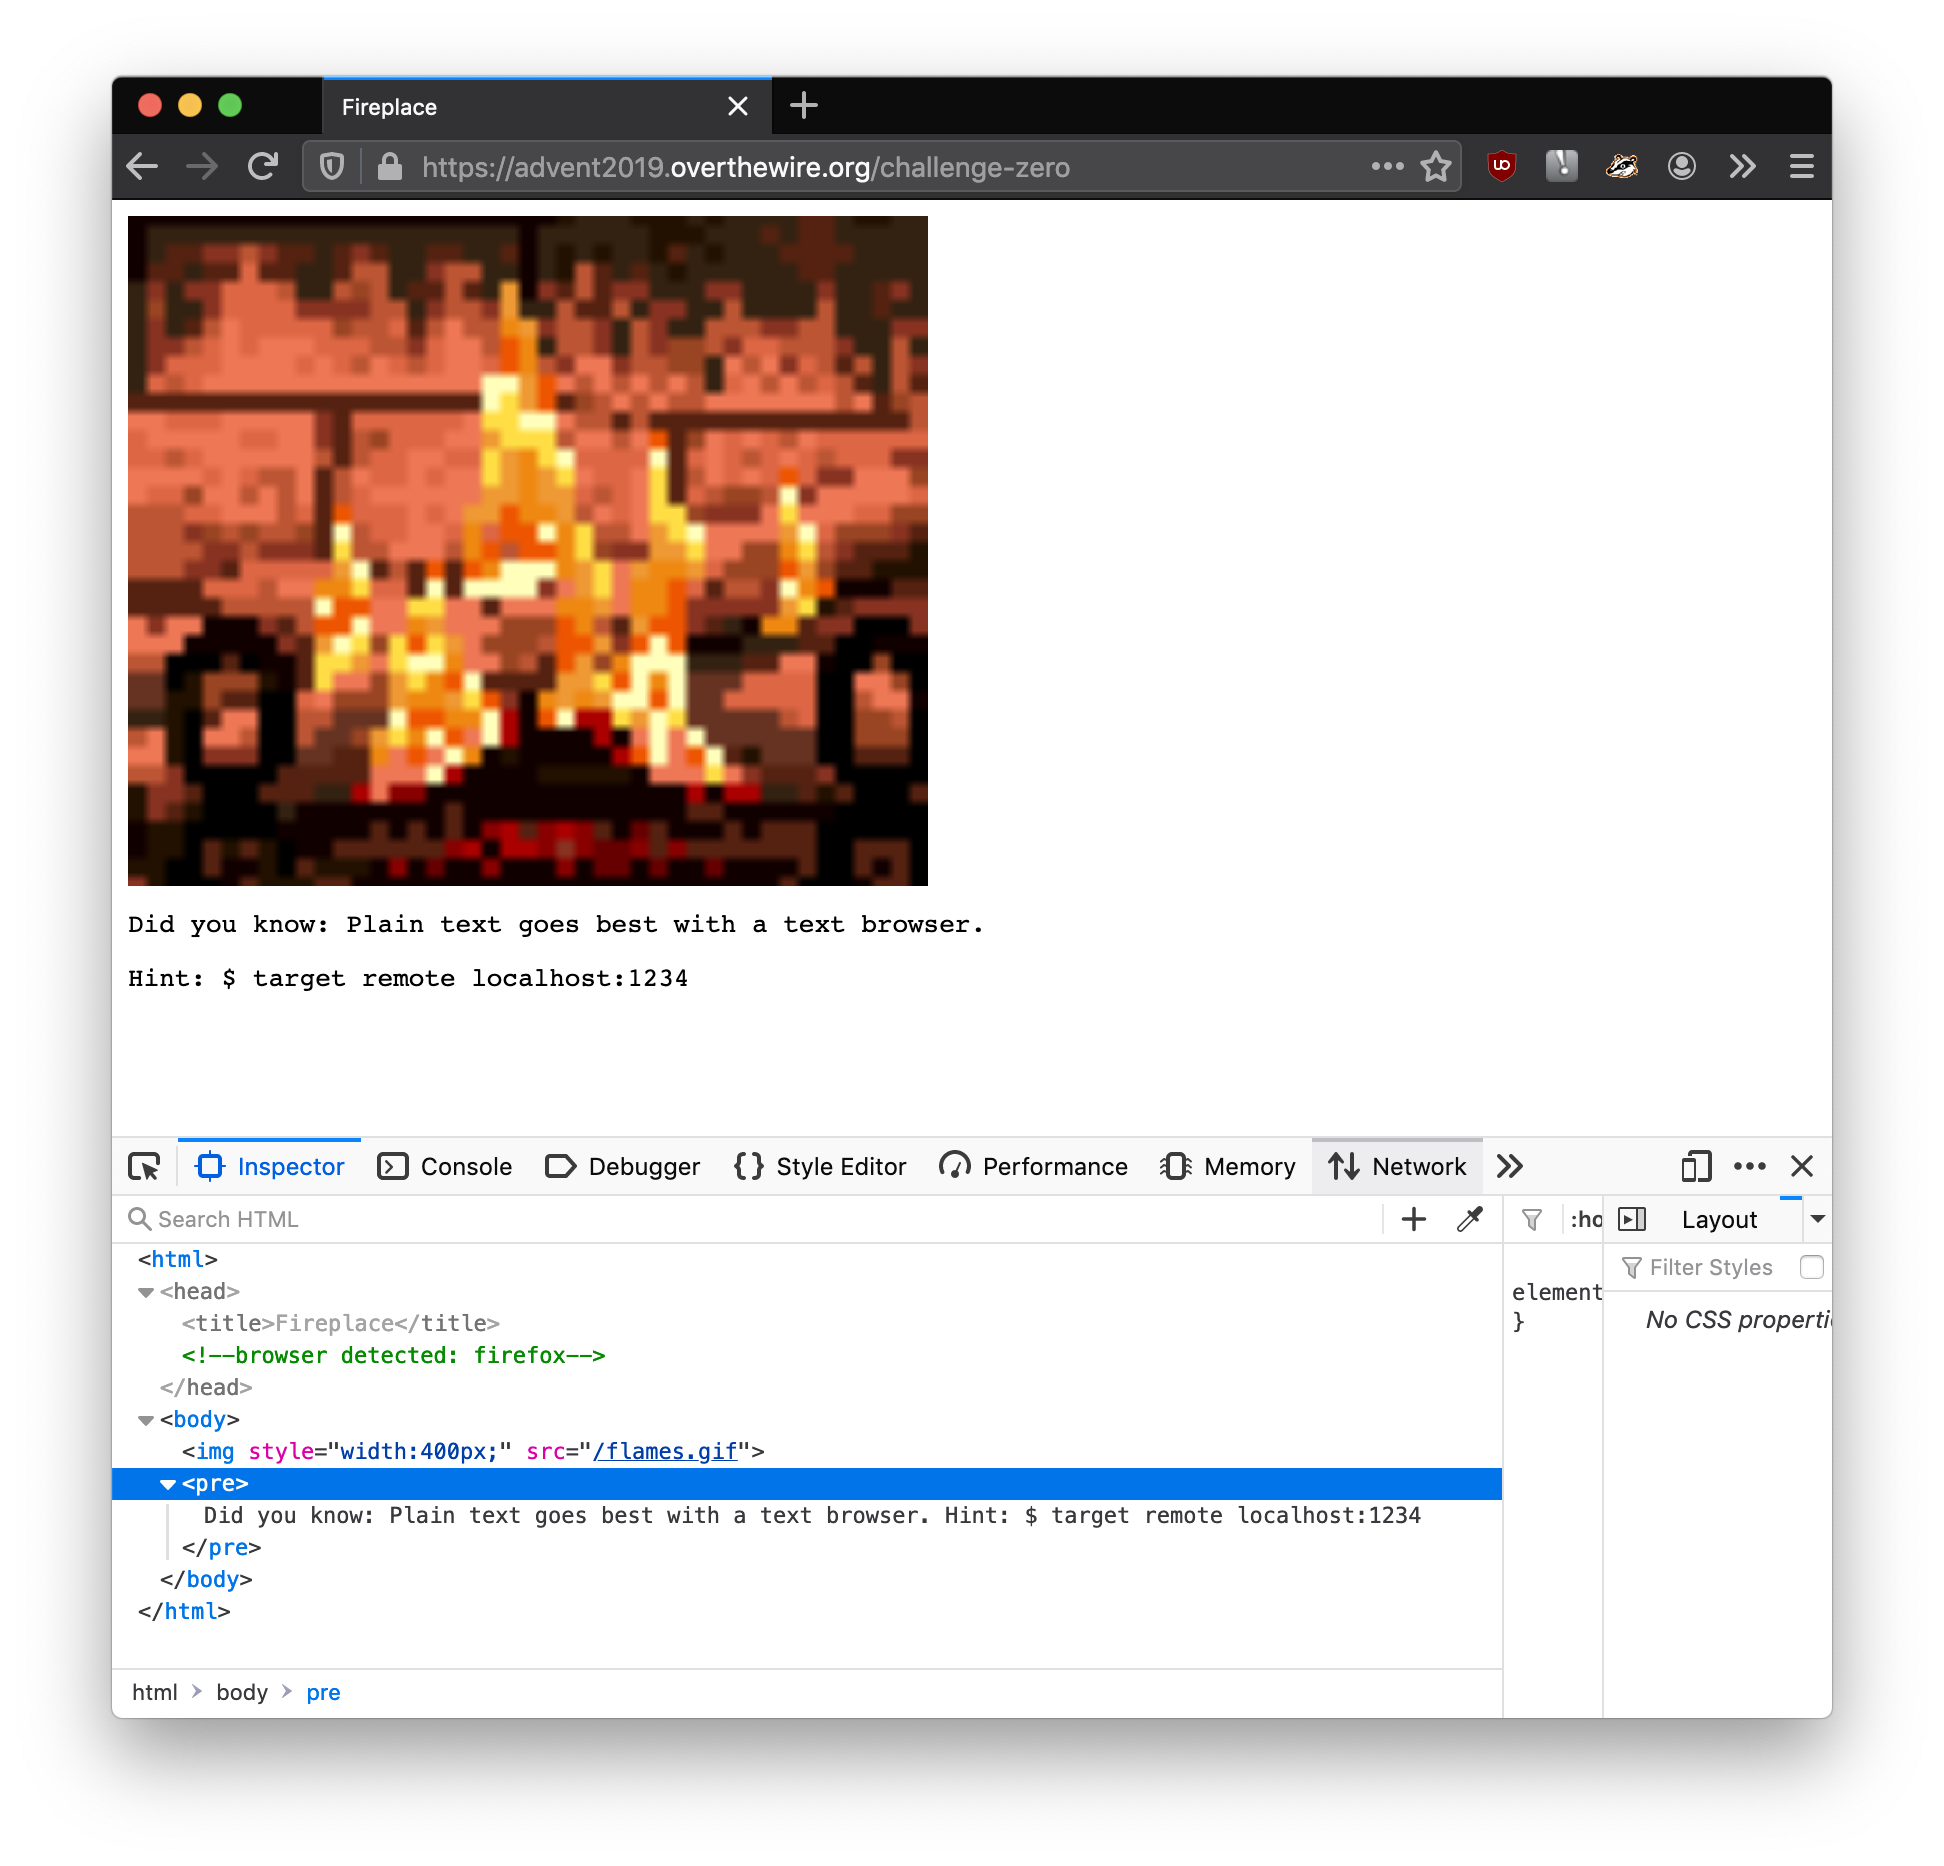
Nothing new buried in the source code there. However, the first line of the page (Did you know: Plain text goes best with a text browser.) is probably telling me to curl the page. So I went ahead and did that…
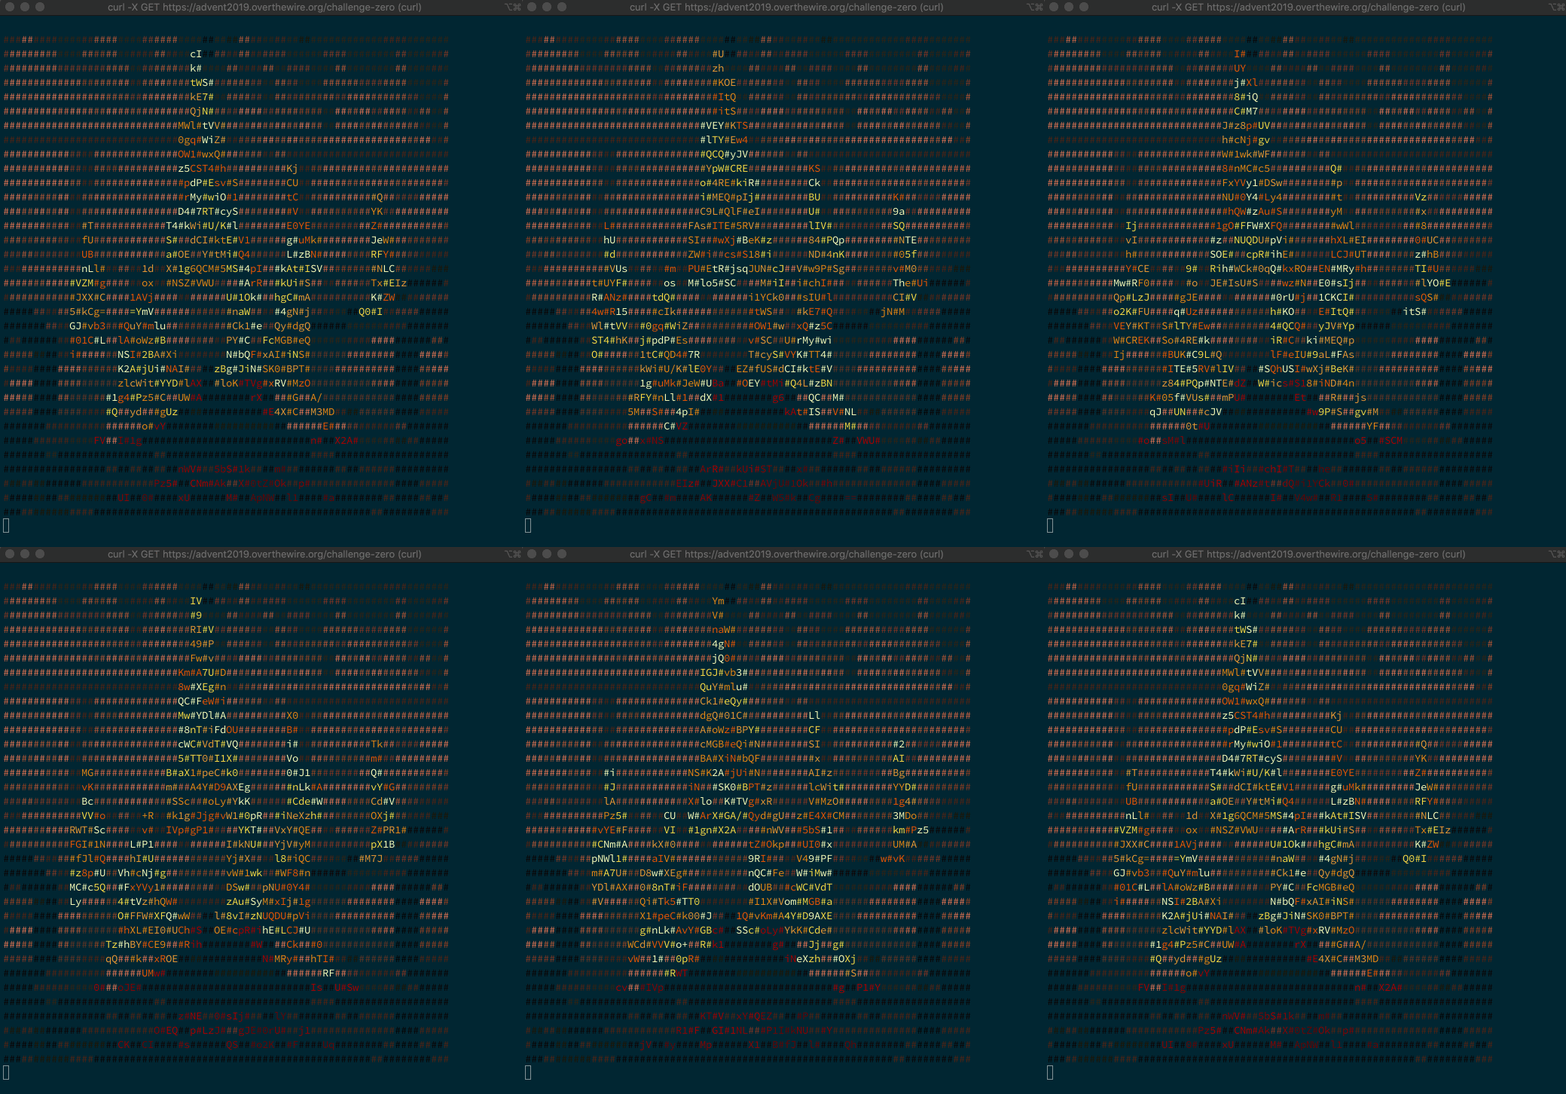
Now this is definitely the right path. At first glance, it looks like the characters follow the base64 character set. I did an output redirection to a file:
1 | curl -X GET https://advent2019.overthewire.org/challenge-zero > output |
It also looks like the text has terminal colorization so if I open the output in Sublime Text, it looks like:
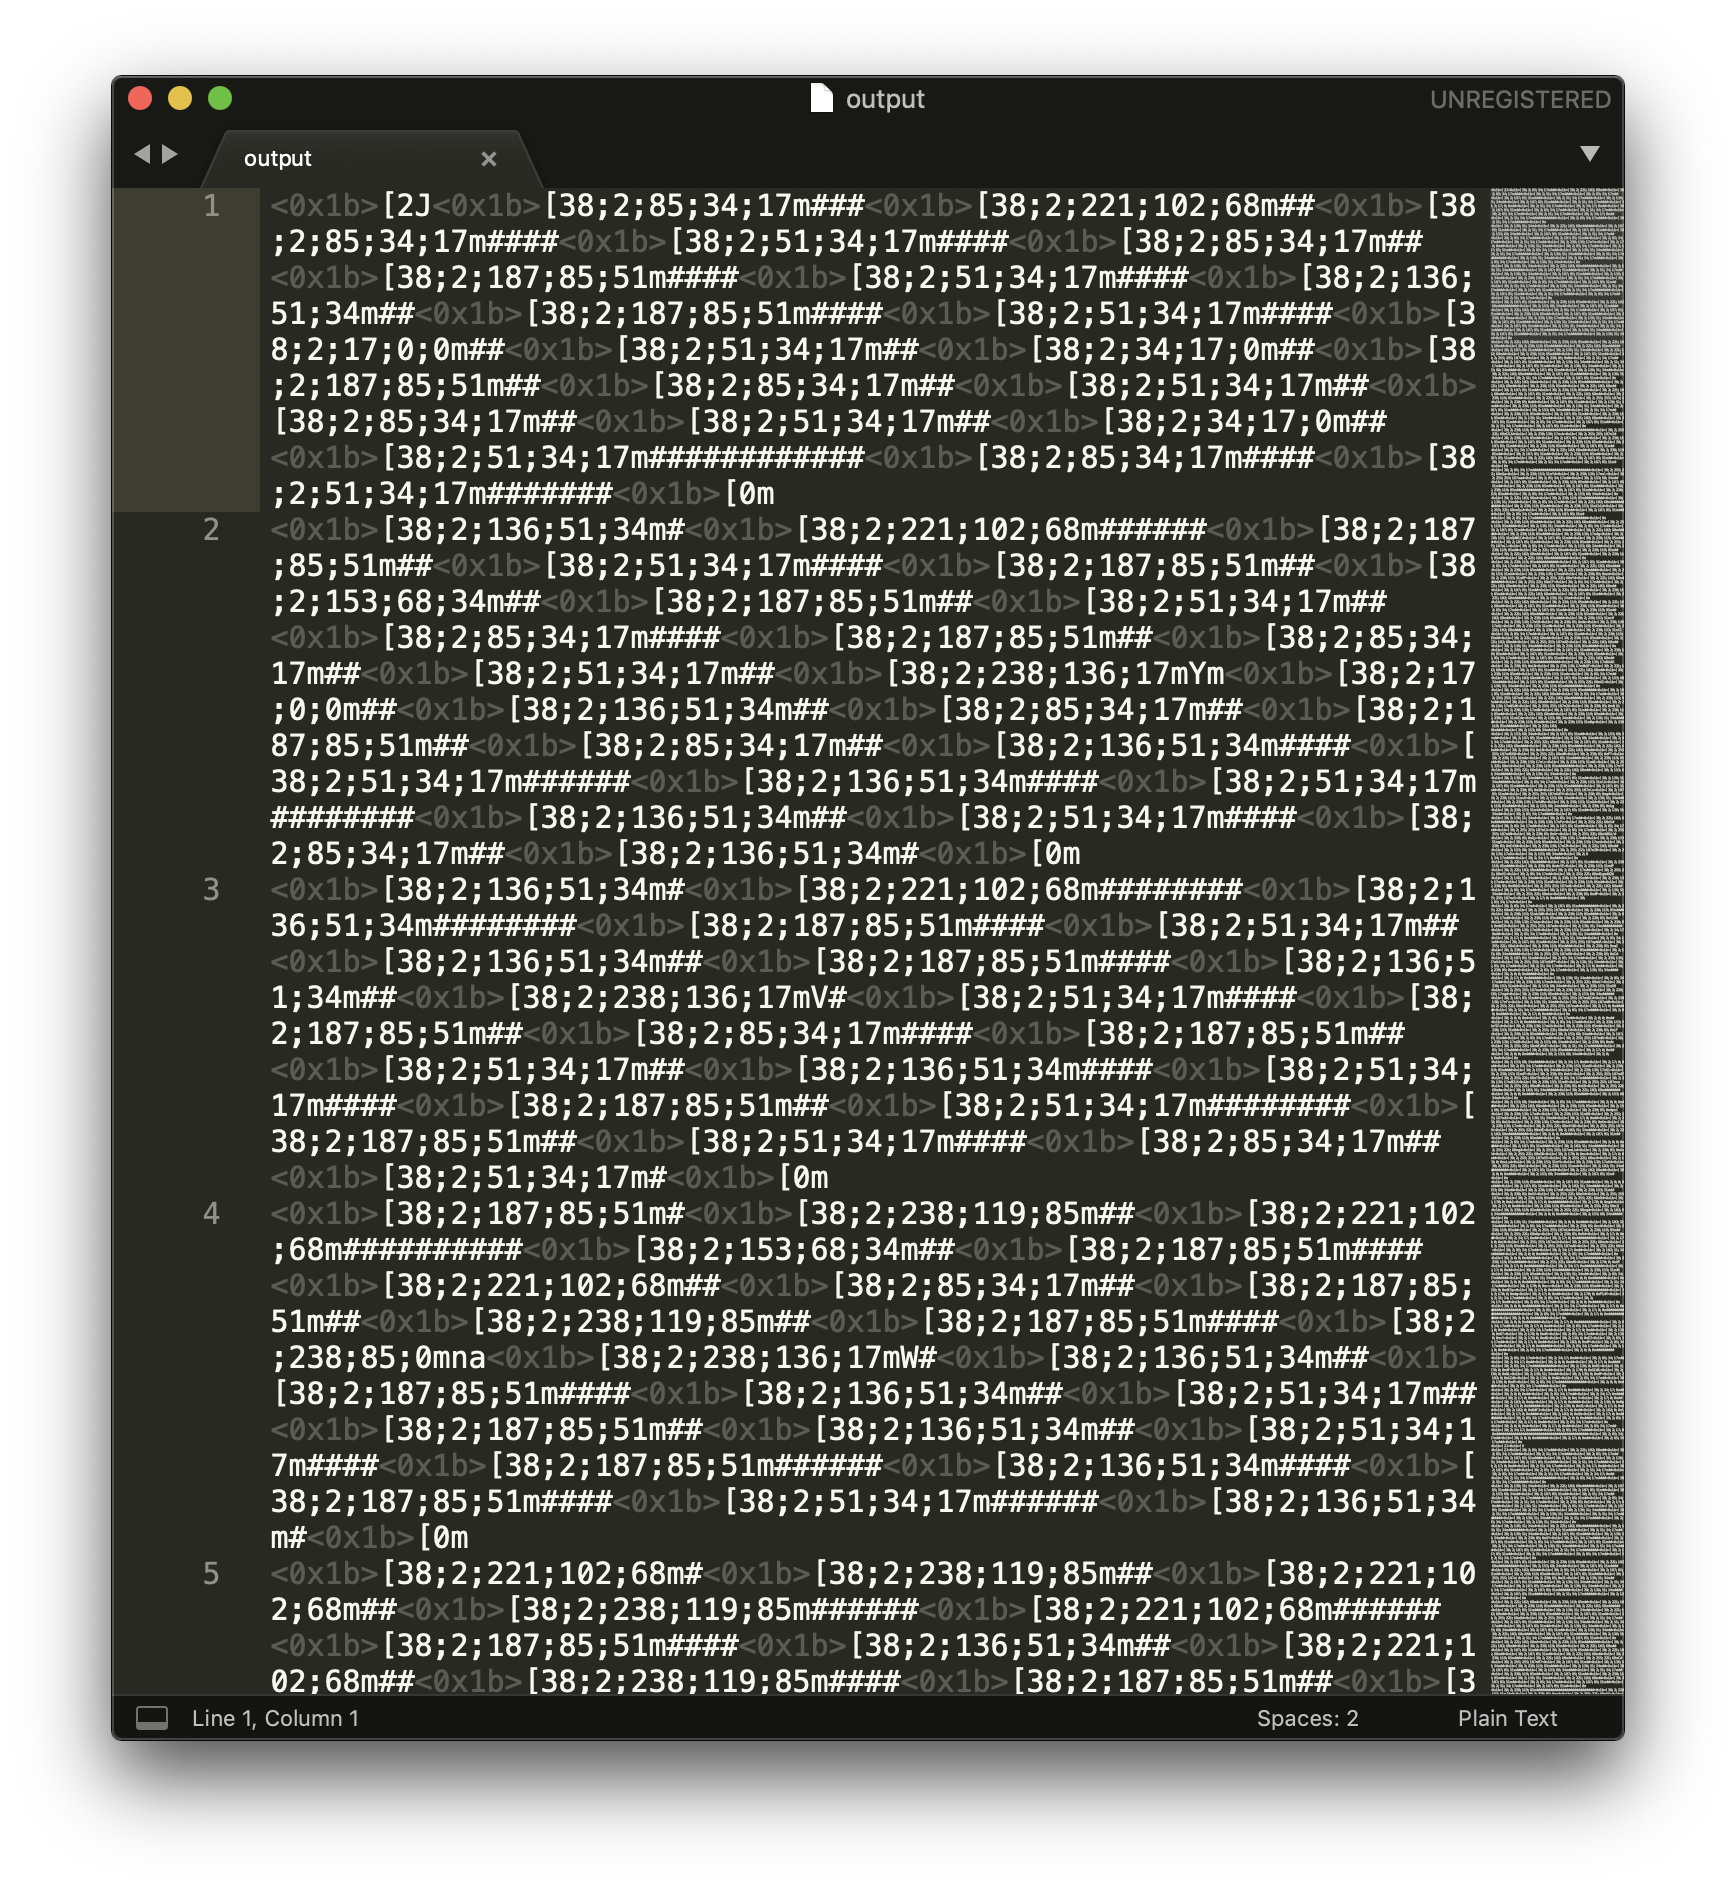
Not very text-processing-friendly. So let’s run this through sed and get an uncolorized version:
1 | cat output | sed $'s,\x1b\\[[0-9;]*[a-zA-Z],,g' > uncolor |
Now our uncolorized version can be processed easily in Python. I wrote a quick line in Python to replace all of the unwanted characters and print out the text:
1 | print open('uncolor', 'rb').read().replace('#', '').replace('\n', '').replace('\r', '') |
This gives me the following output repeated many times:
1 | YmVnaW4gNjQ0IGJvb3QuYmluCk1eQydgQ01CLlAoWzBPYCFcMGBeQiNSI2BAXiNbQFxAIiNSK2AjUiNAIzBgJiNSK0BPTzlcWi |
After decoding the base64, I got the following:
1 | begin 644 boot.bin |
This looks to be Uuencoding. Luckily, Python handles this elegantly as well:
1 | uudecoded_text = uuencoded_text.decode('uu') |
Now I can check what this file is…
1 | $ ls -l boot.bin |
After doing quite a bit of research into DOS/MBR boot sector, basically I figured this was a reversing challenge as the code starting at the beginning of the 512 byte file is executed and set at offset 0x7c00. A good first step is to disassemble the binary portions with objdump. Some special flags need to be used, however. The boot sector code uses 16 bit addressing and also 16 bit data segments so I had to specify this manually.
1 | $ objdump -M intel -D -b binary -mi386 -Maddr16,data16 boot.bin |
It’s important to note that not the entirety of this disassembly is actual code. I was sure that some of this was actually data. Up until about 0xf6, the instructions look more-or-less normal (by normal, I mean similar to other assembly code after my many, many hours of staring at assembly). Assembly code usually has a typical flow. By around 0xf6, the assembly looks a bit wonky. Later on, I found out that my assumption was correct - 0xf6 and beyond is data segments.
It always helps to be able to run a binary and see what it does. To do debugging on this binary, I used the Bochs IA32 Emulator. Installing the emulator with the dlxlinux demo gave me a project to go off of. After downloading and installing the Bochs Emulator, I followed instructions from The Starman’s page on “How to DEBUG System Code using The Bochs Emulator on a Windows PC”. I used the default bochsrc.bxrc file given with the dlxlinux demo but had to figure out how to use the custom DOS/MBR bootsector from the challenge. To do that, I took the hd10meg.img disk from the demo and overwrote the first 512 bytes with the boot.bin to create a final.img. This is likely fine, as I was pretty certain that the boot sector code I needed to run/debug wasn’t affected by the rest of the disk. It took me many hours of fiddling around and learning Bochs before I could figure all of this out.
Bochs has an option which allows you to specify what CPU model it uses. The likely scenario is that the default CPU that Bochs uses does not have SSE support for the xmm (and possibly the aes?) instructions I saw in the disassembly. I found a page from the Bochs User Manual which specifies the CPU models I can choose in the emulator. The default that Bochs uses was the bx_generic which does not seem to have SSE support. After trying several of them, I found that corei7_sandy_bridge_2600k worked fine. I modified the cpu line to the bochsrc.bxrc file in the appropriate location:
1 | cpu: model=corei7_sandy_bridge_2600k, ips=15000000 |
Now running the emulator gives a different output:
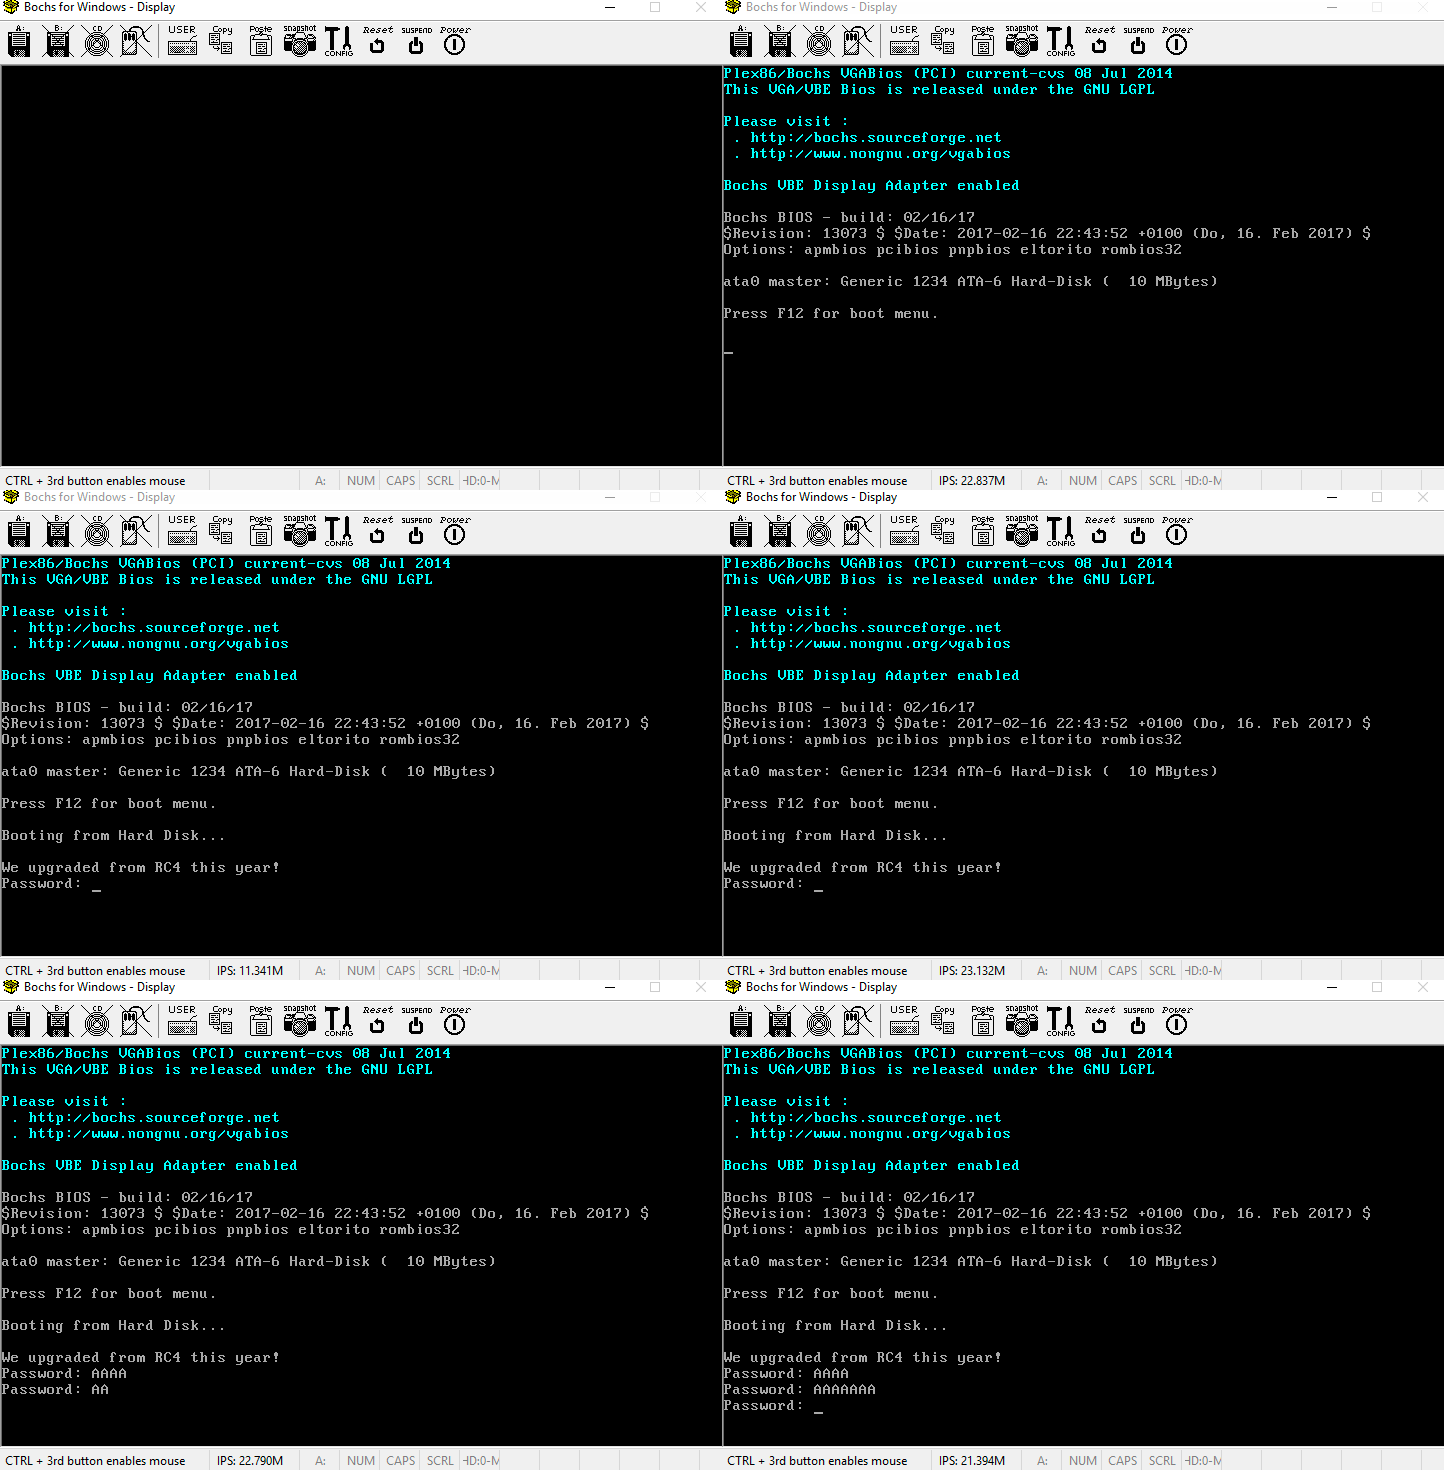
It looks to be a simple crackme? Before I tried to find the solution, something bugged me. There must be code grabbing the text for the program. Where were the texts “We upgraded from RC4 this year!” and “Password: “ coming from? I had a hunch that this text might have been encoded in the data portions in 0xf6 and onwards. Analyzing the assembly a bit more, I saw that there are several calls to 0xe8, which does some xor with 0x42 or B. Isolating these calls and the instructions immediately before them give:
1 | 24: be f6 7c mov si,0x7cf6 |
It’s important to remember that the offset of the program is 0x7c00 for DOS/MBR bootsectors (Remember the hint from opening the webpage in Google Chrome? Hint: $ break *0x7c00). Since the entire boot.bin is only 512 bytes, I opted to just xor the entire thing with 0x42 to get the output and hexdump it:
1 | 00000000 b8 73 82 cc 9a cc 82 cc 92 fe 42 3e 02 4d e0 4d |.s........B>.M.M| |
Here, it’s now easy to see that 0x7cf6 refers to the text We upgraded from RC4 this year!. 0x7d18 refers to the text Password:. 0x7d25 refers to the text Come back with a modern CPU :P. At the moment, the text referred to by 0x7d46 is a bit of an unknown.
After a bit more debugging, I found a length check for my input:
1 | 5c: 81 ff 10 7e cmp di,0x7f10 |
The above line of assembly always checks to see if the length of my input is 0x10 or 16 bytes long.
After many more hours of debugging the code with many breakpoints, I figured out that the routine is simply doing an AES ECB encryption with the 16 bytes at 0x7df0 as the key:
1 | 0x7df0: 6d 79 80 b9 a5 0a 97 24 0d 2d fc 36 0d 95 55 aa |
And comparing the output against the 16 bytes at 0x7de0:1
0x7de0: f7 fe 1a 80 36 51 38 90 a0 34 11 6d 30 5e 52 54
I wrote some quick Python code to decrypt the resulting comparison:
1 | from Crypto.Cipher import AES |
This gave me the output:
1 | MiLiT4RyGr4d3MbR |
I input this as the password to get the flag:

1 | AOTW{31oct__1s__25dec} |
See all the text that comes up after putting in the right password? This has to have been stored somewhere in the binary. After a bit more reversing, the data starting at 0x7d50 is AES encrypted with the password I input MiLiT4RyGr4d3MbR and then xor’d with 0x42. The code reuses the snippet of assembly from AES encrypting for this portion. I assume that this was possibly to keep the binary under 512 bytes (and fitting within a DOS/MBR bootsector). I wrote a small Python snippet to output this as well:
1 | from Crypto.Util import strxor |
The resulting output from running the above after omitting unprintable characters:
1 | Wow, 512 bytes is a lot of space. |
The B‘s at the end were most likely hex 0x0 being xor’d with the 0x42 (since 0x42 is B in ASCII). The actual data that is xor’d with 0x42 starts at 0x7d58, despite the AES encryption starting at 0x7d50.
Pretty fun for a zero-th challenge! I’m excited to see what other challenges there are in the advent. I’m writing these writeups as I solve them but these writeups won’t be published until after the event (which I believe is after Dec 26, 2019, 12:00UTC). There will most likely not be a writeup for every challenge, since I’m sure I can’t solve all of them. Until next time!